Background
Uptime-kuma is a graphically beautiful and easy to use monitoring solution that can be deployed via Docker. The application has good online documentation regarding setup and configuration, but none of the included instructions allowed for installation with a self-signed certificate for internal use. I could have deployed Uptime-kuma as a standalone Docker container, but by default it deploys without SSL support. It would be the only application across my entire network without SSL, and I wasn’t going to allow that!
The Github offers several options for securing the solution using LetsEncrypt certs, but I wanted to use my own self-signed cert signed by my own CA, which is already trusted across all of my devices.
Installation
Setup is very easy. I’ll assume you already have Docker installed, so that won’t be detailed here. I will be deploying the solution to my /srv/ directory. Feel free to edit the directory to your preferences. Additionally, I’ll assume you already have your own internal CA, so I won’t discuss how to create your own SSL certs.
First, create your /srv/docker-compose.yml file:
version: '3'
networks:
  uptimekuma:
    driver: bridge
services:
  nginx:
    image: nginx:latest
    restart: always
    container_name: nginx-uptimekuma1
    volumes:
      - ./nginx/nginx.conf:/etc/nginx/nginx.conf
      - ./nginx/ssl/:/etc/nginx/ssl/
    ports:
      - 80:80
      - 443:443
    networks:
      - uptimekuma
  uptime-kuma:
    depends_on:
      - nginx
    image: louislam/uptime-kuma:latest
    container_name: uptimekuma1
    restart: unless-stopped
    volumes:
      - ./uptime:/app/data
    networks:
      - uptimekuma
Let me break down a few things in the file:
- volumes: We’ll create a directory for:
- Self-signed certs (/srv/nginx/ssl/)
- Uptime-Kuma persistent data (/srv/uptime/)
- container_name: I’m assigning a container_name to each container. The name (uptimekuma1) will be referenced later in the nginx.conf file. If you want to change the container_name, make sure you echo those changes in the nginx.conf file too.
Great! Now let’s create the directories:
sudo mkdir -p /srv/nginx/ssl /srv/uptimeEasy enough. Let’s create the /srv/nginx/nginx.conf file. This file has only a few unique sections that you need to modify:
worker_processes 1;

events {

}

http {

  upstream default_app {
    server uptimekuma1:3001;
  }

  server {
    listen 80;
    server_name myinternal.uptimekuma.url;

    location / {
      return 301 https://$host$request_uri;
    }
  }

  server {
    listen 443 ssl http2;
    # Remove '#' in the next line to enable IPv6
    # listen [::]:443 ssl http2;
    server_name myinternal.uptimekuma.url;

    ssl_certificate     /etc/nginx/ssl/uptimekuma.crt;
    ssl_certificate_key /etc/nginx/ssl/uptimekuma.key;

    location / {
      proxy_set_header   X-Real-IP $remote_addr;
      proxy_set_header   X-Forwarded-For $proxy_add_x_forwarded_for;
      proxy_set_header   Host $host;
      proxy_pass         http://default_app;
      proxy_http_version 1.1;
      proxy_set_header   Upgrade $http_upgrade;
      proxy_set_header   Connection "upgrade";
      proxy_set_header Host $host;
    }
  }
}
Pay attention to:
- server_name: this line appears twice in the file (once in each server block). Substitute your chosen URL that matches your SSL certificate for the value here
- upstream server: if you felt like changing the container_name in your docker compose file, then you’ll need to call it the same name here. If you used the same container_name (uptimekuma1) no edits are necessary.
Go ahead and generate your certs. This article won’t provide specifics on cert generation, assuming you already have your own CA. If not, there are so many ways to generate certs I couldn’t name them all. I use OPNsense as my internal CA and cert repo. TrueNAS also has a certificate utility and other standalone certificate tools could be used.
You’re almost there! Now just copy your certificate and cert private key to /srv/nginx/ssl/uptimekuma.crt and /srv/nginx/ssl/uptimekuma.key.
Finally, secure your cert and key!
sudo chown root:root /srv/nginx/ssl/uptimekuma.*
sudo chmod 600 /srv/nginx/ssl/uptimekuma.*
That’s it. Go ahead and start the docker containers using Compose:
cd /srv/
sudo docker compose up -d
Using Uptime-Kuma
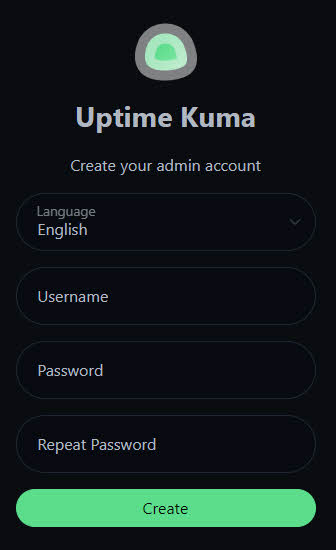
Now that the solution is up and running, go ahead and create your internal DNS entry and browse to the Uptime-Kuma URL you chose. If all goes according to plan, you’ll see your Uptime Kuma login screen:
Create your account and begin setup, as detailed in the Uptime Kuma documentation: https://github.com/louislam/uptime-kuma